
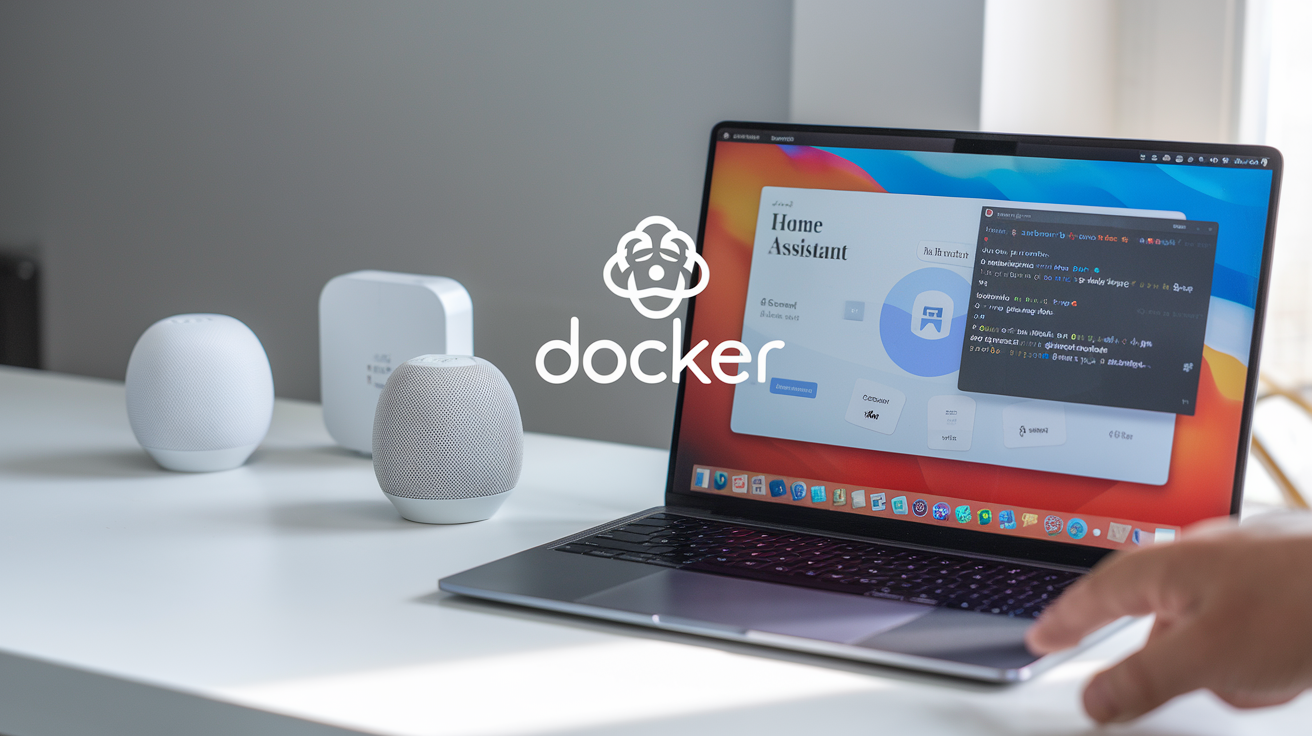
🏠 Are you tired of juggling multiple smart home devices and apps? Imagine having a centralized hub that seamlessly integrates all your smart home gadgets, giving you complete control at your fingertips. Enter Home Assistant – the open-source solution that’s revolutionizing home automation. But here’s the catch: setting it up can be a daunting task for many.
That’s where Docker comes in. This powerful containerization platform can simplify the process of running Home Assistant, making it accessible even to those with limited technical expertise. By leveraging Docker, you can effortlessly deploy, manage, and scale your Home Assistant setup, ensuring a smooth and hassle-free smart home experience.
In this guide, we’ll walk you through the process of running Home Assistant on Docker, from understanding the basics to enhancing your setup. Whether you’re a smart home enthusiast or a curious beginner, you’ll discover how to harness the power of Home Assistant and Docker to create your ultimate smart home ecosystem. Let’s dive in and explore the six key steps to get your Home Assistant up and running in a Docker container! 🚀
Understanding Docker and Home Assistant

What is Docker?
Docker is a powerful platform that revolutionizes application deployment and management through containerization. It allows developers to package applications and their dependencies into lightweight, portable containers that can run consistently across different environments.
Key features of Docker include:
- Isolation: Each container runs in its own isolated environment
- Portability: Containers can be easily moved between systems
- Efficiency: Containers share the host OS kernel, reducing overhead
- Scalability: Easy to scale applications up or down as needed
| Feature | Description |
|---|---|
| Containerization | Encapsulates applications and dependencies |
| Portability | Runs consistently across different environments |
| Resource Efficiency | Shares host OS kernel, reducing overhead |
| Easy Deployment | Simplifies application deployment process |
Benefits of using Docker for Home Assistant
Running Home Assistant in a Docker container offers several advantages:
- Easy installation and updates
- Consistent environment across different systems
- Simplified backup and restoration process
- Isolation from other applications on the host system
- Ability to run multiple instances of Home Assistant
System requirements
To run Home Assistant in a Docker container, you’ll need:
- A computer or server with a 64-bit processor
- At least 2GB of RAM (4GB recommended)
- Sufficient storage space (32GB or more)
- A supported operating system (Linux, macOS, or Windows)
- Docker installed on your system
It’s important to note that while these are the minimum requirements, your specific needs may vary depending on the number of devices and integrations you plan to use with Home Assistant. Now that we understand the basics of Docker and its benefits for Home Assistant, let’s move on to preparing your environment for the installation process.
Preparing Your Environment

Installing Docker
Before we dive into setting up Home Assistant, let’s start by installing Docker. Docker provides a platform-agnostic way to run applications in containers, making it ideal for Home Assistant deployment.
To install Docker:
- Update your system’s package manager
- Add Docker’s official GPG key
- Set up the Docker repository
- Install Docker Engine
Here’s a quick comparison of Docker installation methods:
| Method | Pros | Cons |
|---|---|---|
| Package Manager | Easy, official | May not be latest version |
| Script | Latest version, automated | Less control |
| Manual | Full control | Time-consuming, complex |
Setting up Docker Compose
Docker Compose simplifies managing multi-container Docker applications. For Home Assistant, it allows us to define and run our setup with a single command.
To set up Docker Compose:
- Download the Docker Compose binary
- Apply executable permissions
- Verify the installation
Creating a Docker network for Home Assistant
A dedicated Docker network for Home Assistant ensures proper isolation and communication between containers. This network will host your Home Assistant container and any related services.
To create a Docker network:
- Choose a network name (e.g., “home-assistant”)
- Select the appropriate network driver (usually “bridge”)
- Create the network using Docker CLI
Now that we have our environment prepared, we’re ready to set up the Home Assistant container itself. This foundation will ensure smooth operation and easier management of your home automation system.
Setting Up Home Assistant Container

A. Pulling the Home Assistant image
To begin setting up your Home Assistant container, you’ll need to pull the official Home Assistant image from Docker Hub. Open your terminal and run the following command:
docker pull homeassistant/home-assistant:latest
This command fetches the latest version of the Home Assistant image, ensuring you have the most up-to-date features and security patches.
B. Creating a Docker Compose file
Next, create a Docker Compose file to define your Home Assistant container configuration. This file simplifies the process of managing and deploying your container. Create a new file named docker-compose.yml in your desired directory and add the following content:
version: '3'
services:
  homeassistant:
    container_name: homeassistant
    image: homeassistant/home-assistant:latest
    volumes:
      - /path/to/your/config:/config
    environment:
      - TZ=Your/Timezone
    restart: always
    network_mode: host
C. Configuring volumes and ports
In the Docker Compose file, we’ve already configured the volume mapping. The /path/to/your/config should be replaced with the actual path on your host machine where you want to store Home Assistant configuration files.
Home Assistant uses network mode “host” by default, which means it doesn’t require specific port mappings. This allows it to discover and communicate with devices on your network more easily.
D. Setting environment variables
The Docker Compose file includes an environment variable for setting your timezone. Replace Your/Timezone with your actual timezone (e.g., America/New_York). You can add more environment variables as needed, such as:
environment:
  - TZ=Your/Timezone
  - PUID=1000
  - PGID=1000
PUID and PGID set the user and group IDs for the container, which can be helpful for managing file permissions.
| Variable | Description | Example |
|---|---|---|
| TZ | Your timezone | America/New_York |
| PUID | User ID | 1000 |
| PGID | Group ID | 1000 |
With these steps completed, you’re ready to launch your Home Assistant container and start building your smart home automation system.
Launching and Accessing Home Assistant
Starting the container
To start your Home Assistant container, use the following Docker command:
docker start home-assistant
If you’ve set up automatic restart, the container will start automatically when your system boots. You can verify the container’s status with:
docker ps
This command lists all running containers, allowing you to confirm that Home Assistant is up and running.
Accessing the Home Assistant web interface
Once the container is running, you can access the Home Assistant web interface through your web browser. Use the following URL:
http://YOUR_IP_ADDRESS:8123
Replace YOUR_IP_ADDRESS with your machine’s IP address or localhost if accessing from the same machine.
| Access Method | URL |
|---|---|
| Local Machine | http://localhost:8123 |
| Network | http://YOUR_IP_ADDRESS:8123 |
Initial configuration steps
After accessing the web interface for the first time, follow these steps to set up your Home Assistant instance:
- Create your admin account
- Name your Home Assistant instance
- Set your location and time zone
- Choose which integrations to enable
Home Assistant will then perform an initial scan of your network to detect compatible devices. This process may take a few minutes.
With these steps completed, you’re ready to start customizing your Home Assistant setup. The next section will guide you through managing your Home Assistant Docker setup, including updating, backing up, and monitoring your container.
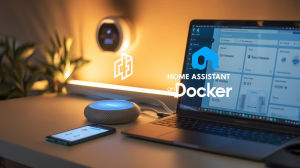
Managing Your Home Assistant Docker Setup

Updating Home Assistant
Keeping your Home Assistant Docker container up-to-date is crucial for accessing the latest features and security patches. To update your Home Assistant instance:
- Pull the latest image:
docker pull homeassistant/home-assistant:latest - Stop and remove the existing container:
docker stop home-assistant docker rm home-assistant - Run a new container with the updated image:
docker run -d --name home-assistant --restart=unless-stopped -v /path/to/your/config:/config -p 8123:8123 homeassistant/home-assistant:latest
Backing up your configuration
Regular backups are essential for preserving your Home Assistant setup. Here’s a simple backup process:
- Stop the container:
docker stop home-assistant - Copy the configuration directory:
cp -r /path/to/your/config /path/to/backup/location - Restart the container:
docker start home-assistant
Monitoring container health
Keeping an eye on your Home Assistant container’s health ensures smooth operation. Use these commands:
| Command | Purpose |
|---|---|
docker ps |
Check if the container is running |
docker logs home-assistant |
View container logs |
docker stats home-assistant |
Monitor resource usage |
Troubleshooting common issues
When facing issues with your Home Assistant Docker setup, try these steps:
- Check logs for error messages
- Verify configuration file syntax
- Ensure proper network connectivity
- Restart the container
- Update to the latest version
If problems persist, consult the Home Assistant community forums for additional support.
Enhancing Your Home Assistant Docker Setup

Adding complementary containers
To enhance your Home Assistant Docker setup, consider adding complementary containers that can extend functionality and improve your smart home experience. Here are some popular containers you can integrate:
- MQTT broker (e.g., Mosquitto)
- Node-RED for automation
- InfluxDB for data storage
- Grafana for data visualization
- Zigbee2MQTT for Zigbee device support
| Container | Purpose | Benefits |
|---|---|---|
| Mosquitto | MQTT broker | Enables communication between devices |
| Node-RED | Automation | Creates complex automation flows |
| InfluxDB | Time-series database | Stores sensor data efficiently |
| Grafana | Data visualization | Creates beautiful dashboards |
| Zigbee2MQTT | Zigbee support | Connects Zigbee devices to MQTT |
Integrating with other smart home devices
Home Assistant’s strength lies in its ability to integrate with a wide range of smart home devices. Here are some steps to enhance your setup:
- Identify compatible devices
- Install necessary integrations
- Configure device-specific settings
- Create automation rules
Remember to check the Home Assistant documentation for specific integration instructions for your devices.
Implementing security best practices
Securing your Home Assistant Docker setup is crucial. Follow these best practices:
- Use strong, unique passwords
- Enable two-factor authentication
- Regularly update Home Assistant and addons
- Use a reverse proxy with SSL encryption
- Implement network segmentation
- Limit exposed ports
- Regularly backup your configuration
By following these steps, you’ll create a more robust, feature-rich, and secure Home Assistant environment. Next, we’ll explore advanced techniques for optimizing your Docker-based Home Assistant setup.

Running Home Assistant on Docker offers a flexible and efficient way to manage your smart home. By following the steps outlined in this guide, you can easily set up and maintain your Home Assistant instance within a Docker container. From understanding the basics of Docker and Home Assistant to preparing your environment and launching the container, you now have the knowledge to create a robust smart home automation system.
Remember, the key to a successful Home Assistant Docker setup lies in proper management and continuous improvement. Keep your container updated, back up your configuration regularly, and explore additional Docker-based add-ons to enhance your smart home experience. With these tools at your disposal, you’re well-equipped to create a personalized and powerful home automation solution that meets your unique needs.


Good https://rb.gy/4gq2o4
Very good https://is.gd/N1ikS2